Showing posts with label cinnamon. Show all posts

Sunday, September 20, 2015

Gluten Free, Dairy Free Pumpkin Pancakes - Real Italian Kitchen

I got the idea from reading many other recipes online, which all called for special gluten free flours. I used good old Bob Mill's all purpose flour and after much tweaking, here are the measurements for super fluffy guilt free Pumpkin Pancakes!


Yealds 10/12 pancakes:

DRY INGREDIENTS:

1 1/2 cup gluten free all purpose flour from Bob's Mill (also great cause it doesn't have any almond meal in it)

1tsp baking powder

1tsp baking soda

2 tsp cane sugar

a pinch of salt

1 1/2 tsp of cinnamon
1 tsp of all spice
1 tsp of ground ginger or any combination of pumpkin pie spices you happen to have in your pantry!

WET INGREDIENTS:

1/2 a can of pumpkin puree, or 1 cup of your home made one

1 cup almond/coconut milk at room temperature (or just almond milk, or probably also any other kind of milk)

2 tbsp of Kefir (I bet buttermilk works too)

1 large egg (I used a duck egg)

2tbsp coconut oil plus some to oil the pan with


STEP BY STEP:


1. In a bowl, whisk all the dry ingredients

2. In a separate bowl whisk all the wet ingredients.

3. Now whisk the two together. You should start seeing little bubbles in the mix.

You know what I discovered? That if you forget one of the ingredients once you have already mixed the two together, it's not the end of the world! Just add it and whisk it with some energy. And everything will be just fine…!

4. Heat up the pan, throw some coconut oil on it so the pancakes won't stick.

5. With a spoon scoop the batter into the hot pan, making flat pancakes of the size you prefer. With this batter I would say the smaller the better.


Once you see the bubbles exploding on the top (a few minutes), flip them and cook them for an extra 2 or 3 minutes.

6. Serve with maple syrup. I buy mine from Woods Syrup.
Check out how fluffy the are! 

This is a picture of my last serving, as you can see by all the syrup on the plate! 
Not bad for an italian, right?

I hope you enjoy them as much as I did. I had 4… !!!

Valentina
Realitaliankitchen


Sunday, November 11, 2012

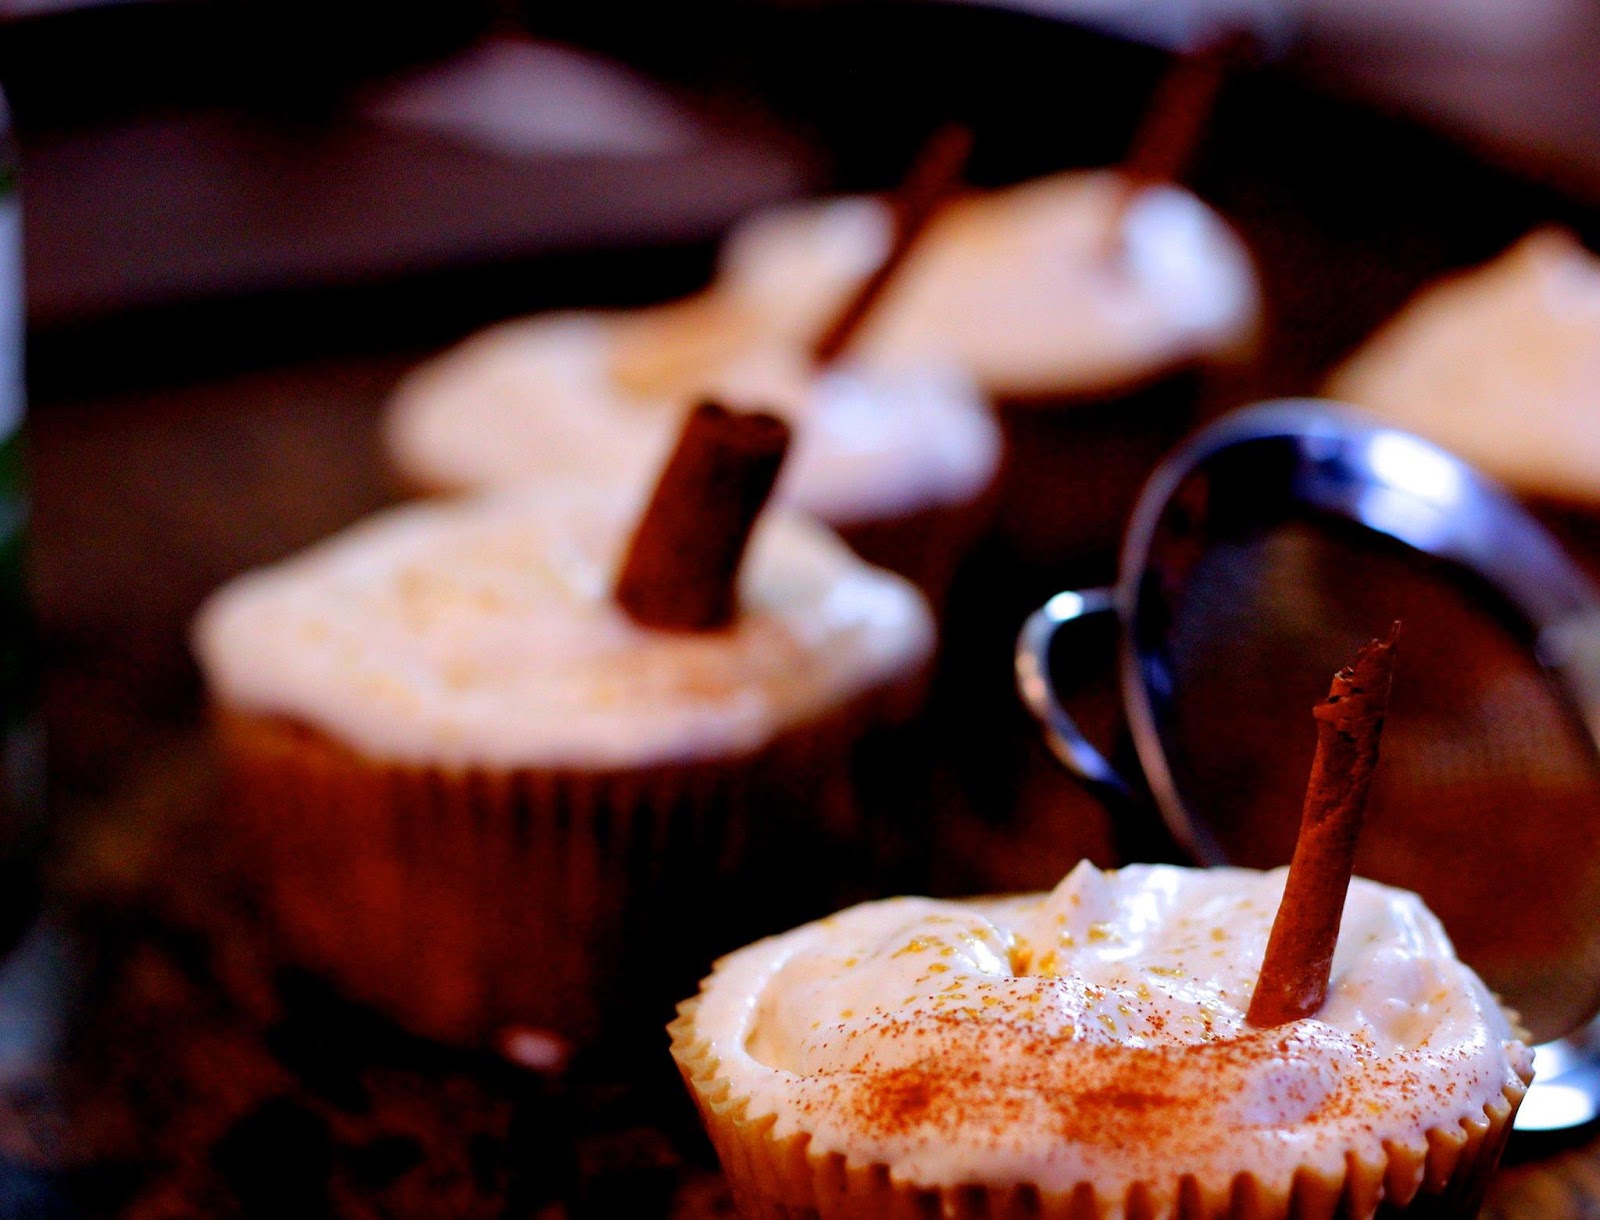
Fall Spiced Apple Cupcakes with Syllabub topping


Yes, yes, I know cupcakes are not an italian dish, but my friend Robyn Muse makes the most amazing ones and I just had to learn how to make them! Here is the full list of ingredients.

For 24 cupcakes:
2 1/2 cup flour with 2 tsp baking powder
1 stick of butter (8 tbsp)
2 cup sugar
2 eggs
4 large Gala apples
1tsp vanilla extract
1tsp salt
1/2 tsp cinnamon
1/2 tsp ground ginger
3/4 cup butter milk


For the Syllabub
4 tbsp caster sugar (normal sugar will also work)
1tbsp Calvados (I did a variation with Gran Marnier and it turned out delicious)
1/2 cup apple cider or the juice of the apples used for the cupcakes
300 ml heavy cream
the juice of one lemon
1/4 teaspoon of cinnamon

For the step by step instructions you can watch the video recipe here
CUPCAKES
1. Mix all the dry ingredients (flour, baking powder, salt, cinnamon, ground ginger).
2. In a separate container cream the butter with a hand whip
3. Add the sugar, the eggs, the flour slowly and mindfully on at the time
4. Grate the apples with a cheese grater and with the help of a pinch of salt squeeze all the juice out of them. We don't want too much moister in the batter because that would make it soggy. Keep the juice, we'll use it for the topping. Add 4 cups of the squeezed grated apples.
5. Put the cupcakes cups in the cupcakes tin and 3 tbsp of batter in each one of them.
6. Place in medium/low rack in the oven set to 350 F/180 C for about 20 minutes.

SYLLABUB
1. Mix all the ingredients together except for the heavy cream and whisk till sugar is dissolved.
2. Add the heavy cream and start whipping it until the cream is dense and firm
3. Place in the fridge and let it cool for about 30 minutes.

LET'S PUT THEM TOGETHER! 
Once the cupcakes are cold you can top them with the Syllabub. If it seems like it's too liquid, put the cupcakes with the syllabub topping in the fridge for another 10 minutes. With a flat knife make some ripples in the syllabub (watch the video for a better sense on how to do this).

Decorate with cinnamon powder, cinnamon sticks and your choice of sugar sprinkles!

Enjoy!
Valentina
RealItalianKitchen

Pumpkin Pie made by an Italian -


Here it is! My first attempt to Pumpkin Pie! Not to shabby for an Italian, uh?

My american fiancee' says it's good, some corrections to be made in the future, but good starting point!

I made it 100% from scratch, I used a fresh pumpkin, not the canned one, I made my own pie crust.

I got the recipe from http://www.pickyourown.org and made some corrections

FOR THE PIE CRUST

1.5 cups all purpose flour
2 tbsp sugar
1/2 tsp salt
1/6 cup cold margarin, or vegetable shortening, or vegetable oil, or coconut oil.
1/3 cup cold butter
some cold water to help holding all of the above together.

Very simple: mix all of the above with your hands or a food processor into a smooth pie dough ball. Let it rest in the fridge for 30 minutes before putting it in the oven.

FOR THE PIE FILLING

1large pumpkin or large butternut squash. To prepare it for the use slice it in half, get rid of the seeds inside it LEAVE THE SHELL ON and throw it in the oven for 30 minutes till cooked and mushy. Once done remove the shell (now it comes off almost by itself) and work it in the food processor until you have a smooth orange cream.

You'll need 3 cups of this wonderful orange cream
3/4 cup sugar
1.5 tsp ground cinnamon
1 tsp ground cloves
1/2 tsp ground ginger
1/2 tsp ground nutmeg
1/2 tsp vanilla extract (I didn't have it, didn't use it)
1/2 tsp salt
4 large eggs (or 3 extra large ones)
12 oz of evaporated milk. I didn't find this so instead I used 1 cup of dried non fat milk and added 1 cup of water to it. Mix it well and you'll get the same results as with evaporated milk. If that's not 12 oz add a little more then 1 cup.

STEP BY STEP

1. Flatten the pie dough with a rolling pin and put it in a 10 inch pie pan. It's better to have a glass pie pan but if you're using an aluminum one like I did just be careful about step number 3.
Adjust the dough in the pan and make cute little ripple on the edges.

2. Mix all the ingredients for the pie filling and whisk till there are no lumps.
It's going to be very liquid, it's ok, it will solidify in the oven.

3. Pour the mix in the pie crust. If you're using an aluminum pie pan put the pan on the oven rack first, then pour the mix. I didn't do this and my filling SPILLED everywhere when I tried to move the flimsy pie pan filled with liquid to the oven, and made a mess, of course, I'm not surprised.

4. Bake for the first 15min at 425 F and for the remaining 45 at 350 F. If the crust gets to dark you can cover it with aluminum foil or a crust shield (I cut mine out from a piece of aluminum foil), you can buy a professional one, clic on the image at the end of the page to buy one.

5. Let the pie cool down for at least 1h before cutting into it. It's supposed to be served at room temperature or cold, with a little scoop of whipped cream on top!


Enjoy!

Valentina
RealItalianKitchen


P.S: Like every dish in the american tradition this is as heavy as a brick: don't eat too much or it WILL make you sick (I speak from personal experience...)!!!